Container Hardening
What is automated container hardening?
Automated Container Hardening streamlines the process of securing your containers for production and removing unnecessary components that could contain vulnerabilities. We do this by creating a repeatable process running in CI/CD that produces a new, production-ready container every time you update your code.
Typically, organizations using this process reduce their vulnerability counts by 50 to 80 percent on their first run. And this process can be implemented in CI/CD to create a system of continuous, automated supply chain security without all the manual effort of current tools.
A container’s hardening profile is developed by wrapping the original container with a layer containing the Slim Sensor, which observes the running container and sends observations back to Slim.AI.
Slim then uses the observations, along with custom logic, to understand what’s really needed in the container. We remove everything that’s unnecessary for the container to operate and create a new, functionally-equivalent, more secure container image.
These instructions will show you how to connect to your registries, scan your images for vulnerabilities, and harden your first container image.
Why should I harden my containers?
Research has shown that 20% of all vulnerabilities in the most popular public containers are at high or critical severity. So if you're a consumer of public containers and you're not optimizing, you’re accepting additional, unnecessary attack risks into your software supply chain.
Slim's automated hardening workflow minimizes your attack surface and gives you detailed visibility into exactly what you’re running, so you can eliminate what you don’t need.
If the extra risk isn't enough to convince you, consider this: A 1GB container takes approximately 6X longer to scan than a 200 MB container. For a typical development team, this could conservatively mean 160 wasted hours per year. We bet you'd rather be doing more meaningful coding work.
What you’ll need:
- A Slim account. If you do not have one yet, head to the Slim Platform to get sign up.
- The ability to connect us to your container registry (Docker Hub, AWS ECR, etc.). Read the Connectors doc to quickly get set up!
- The image(s) you would like to harden available in your connected registry
- The ability to run and deploy the images locally from your machine
Let’s get started!
Sign in to the Slim platform at https://portal.slim.dev.
Once signed in, make sure you’re working within the correct organization by looking at the box in the top right corner with your username. Switch organizations if necessary by hovering over your username to reveal your organization options.
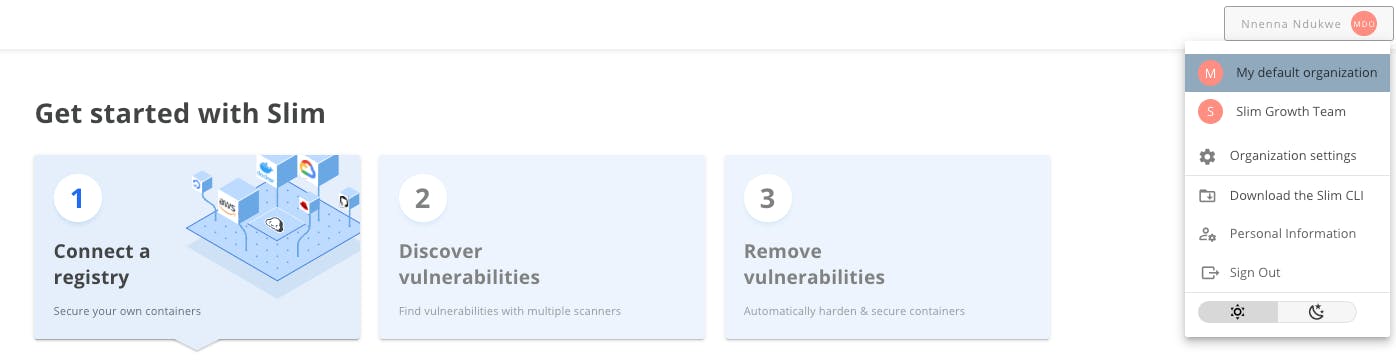
Step 1: Connect your Registries
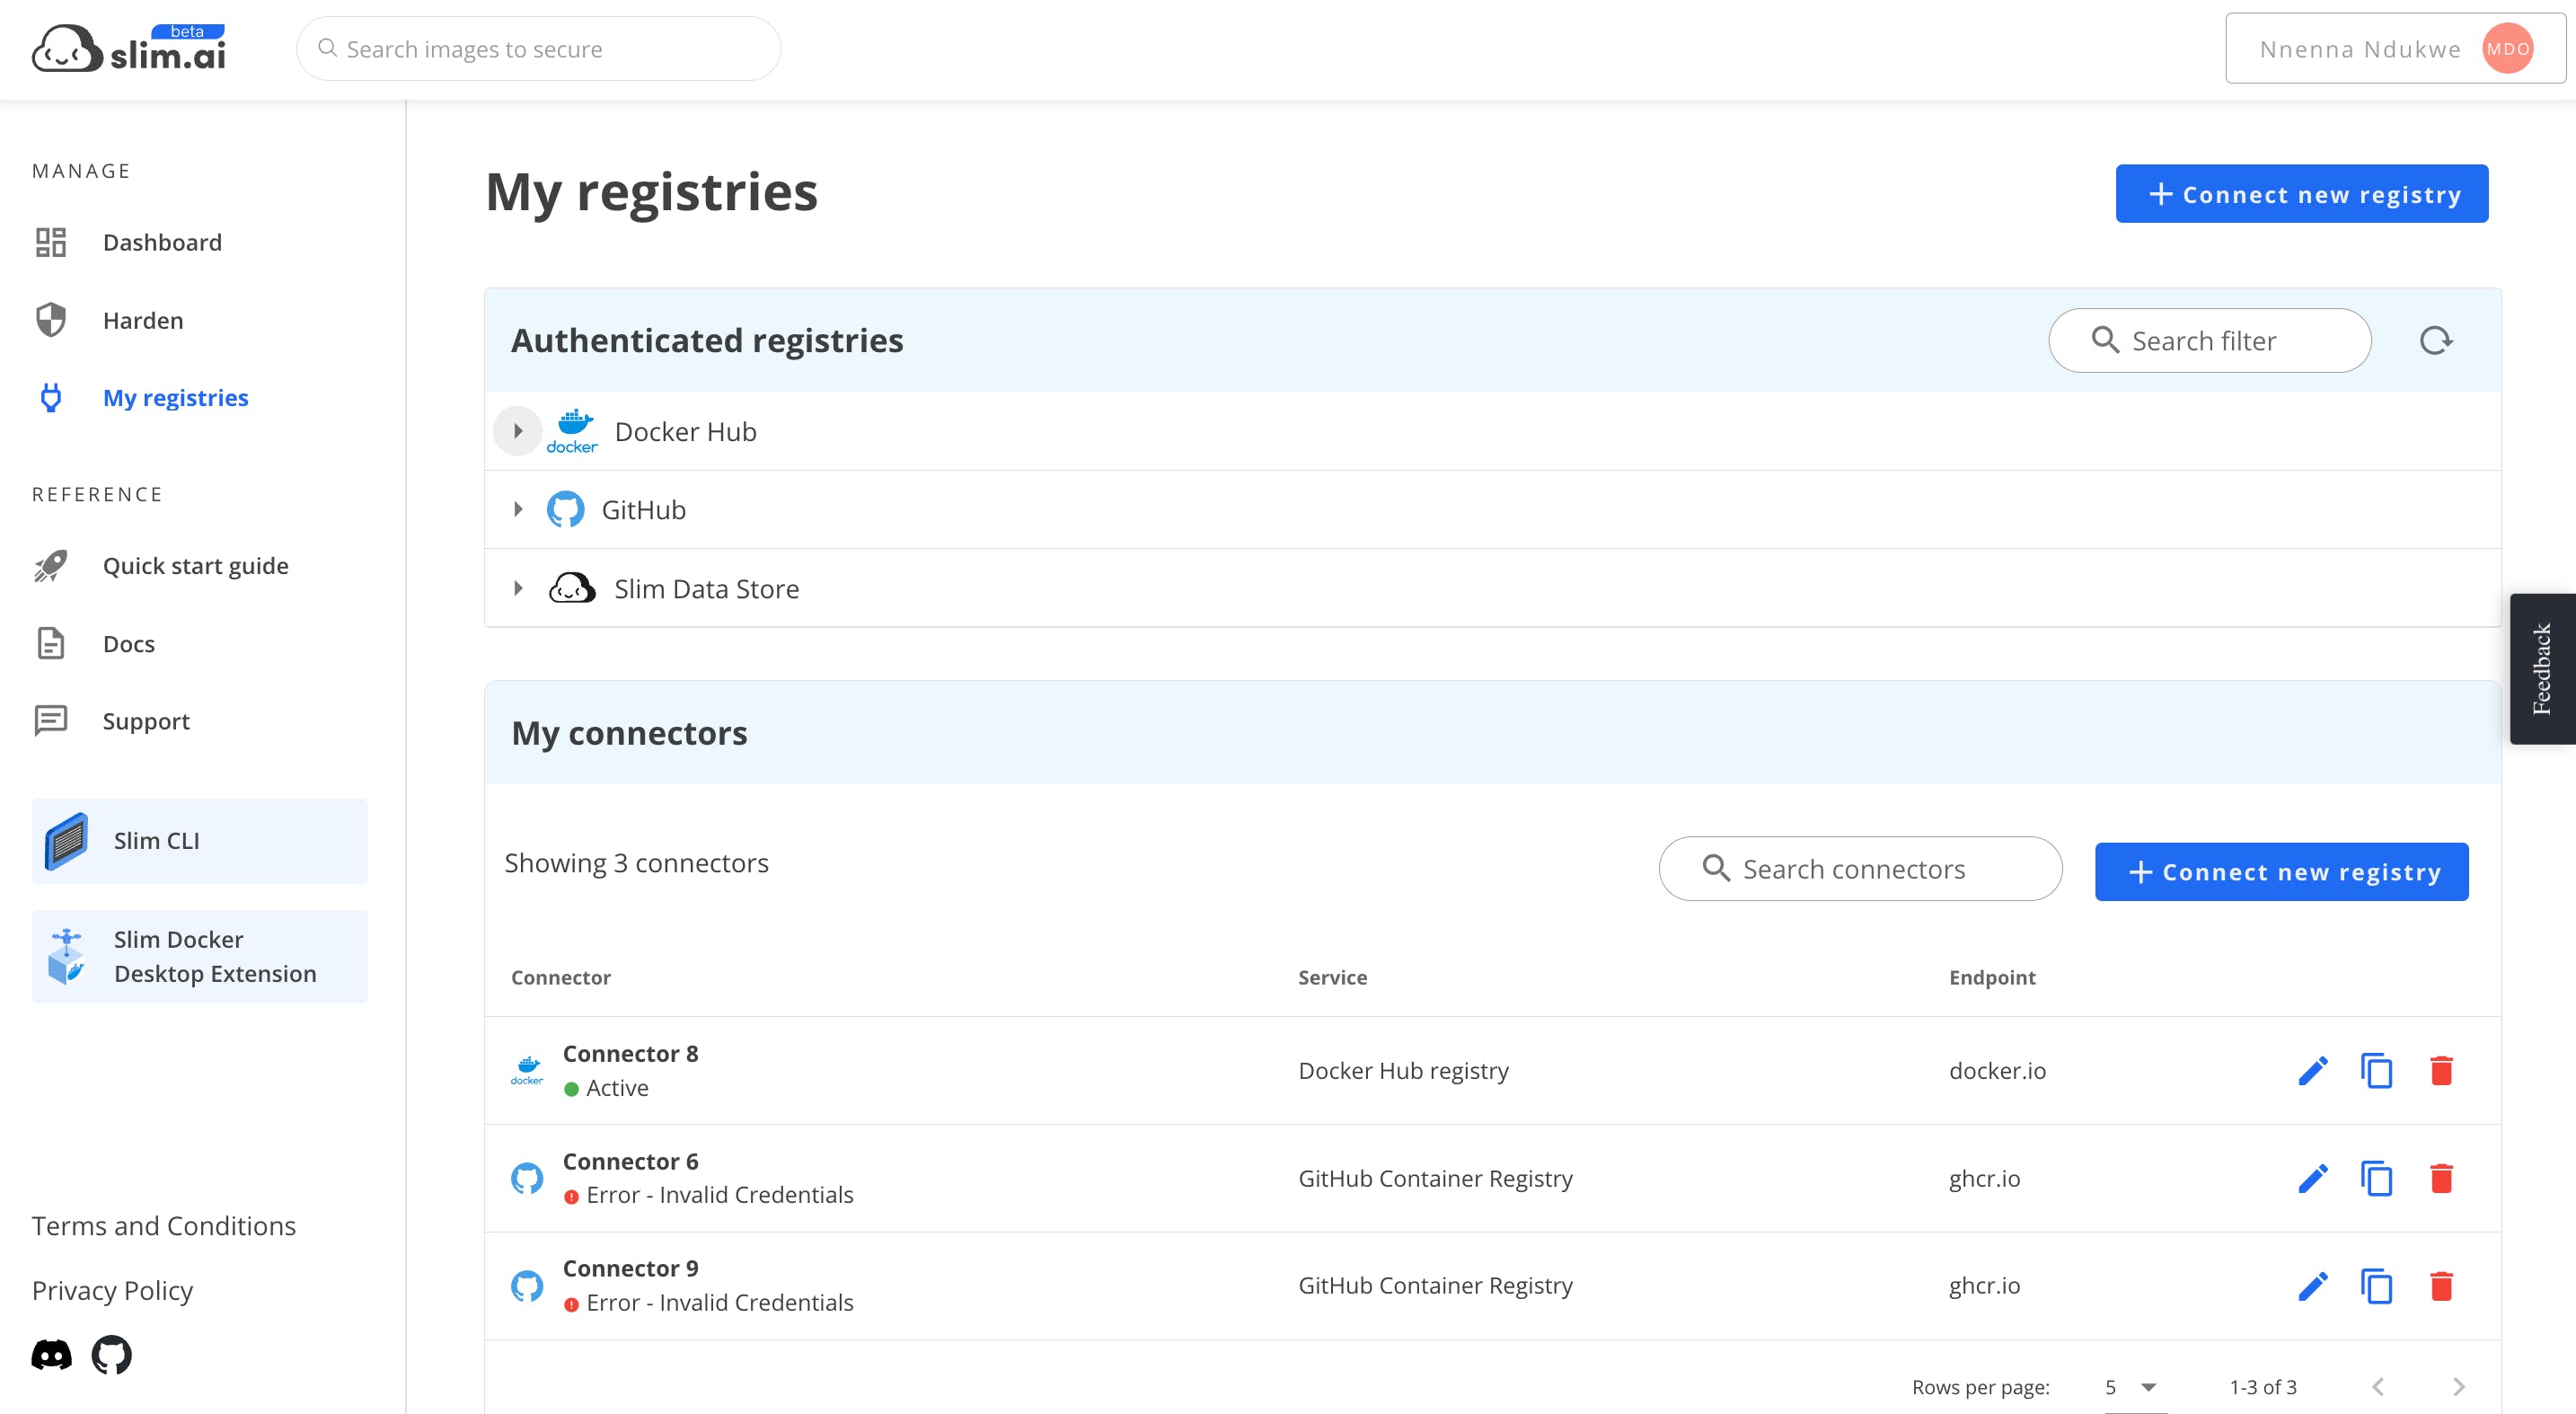
Navigate to My Registries to view your connectors. This is where you can authenticate yourself with different container service providers in order to access your private images. This is also where you can manage your connectors.
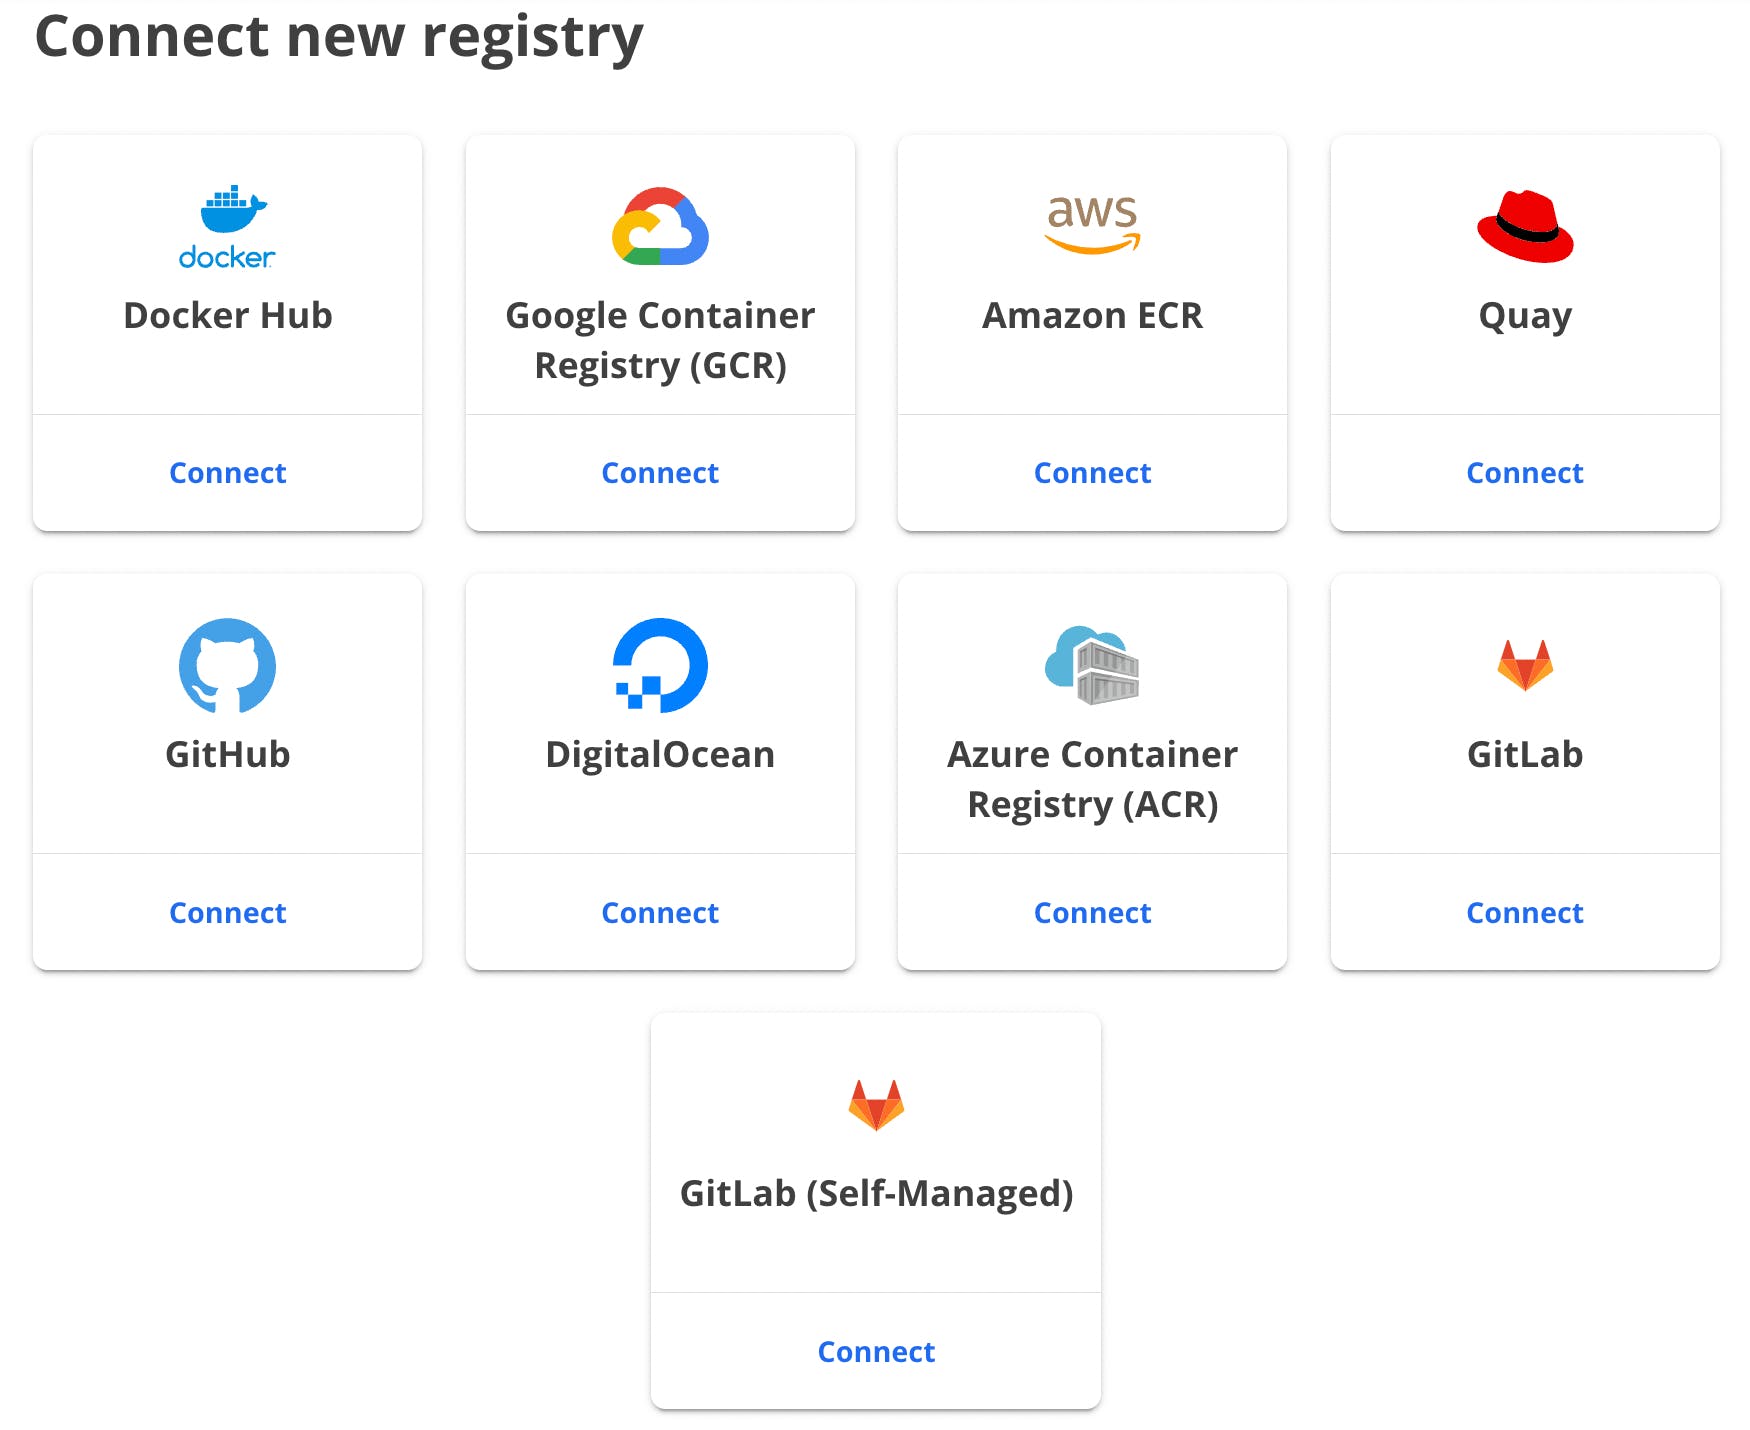
Select your registry provider (ECR, GitHub, GitLab, etc.) and authenticate your connector using the mechanism provided. Specific instructions per registry provider are available when connecting your registry.
The Slim platform requires read-write access to your connected registries in order to scan, harden, and push images back to your registries.
Once your registries are connected, navigate to My Registries. Here you should see your registries and be able to browse through them to find the images you would like to scan and harden. They are listed by Registry Provider → Connector → Repo → Images+Tag.
Step 2: Scan an image
The Slim portal provides two mechanisms for finding images to scan. You can go to My Registries and browse your images or search for them using the search bar in the top navigation.
Once you have found an image or images to scan, click the "Explore" button to start a scan. Initial scans take 30s to 1m depending on the size and complexity of an image.
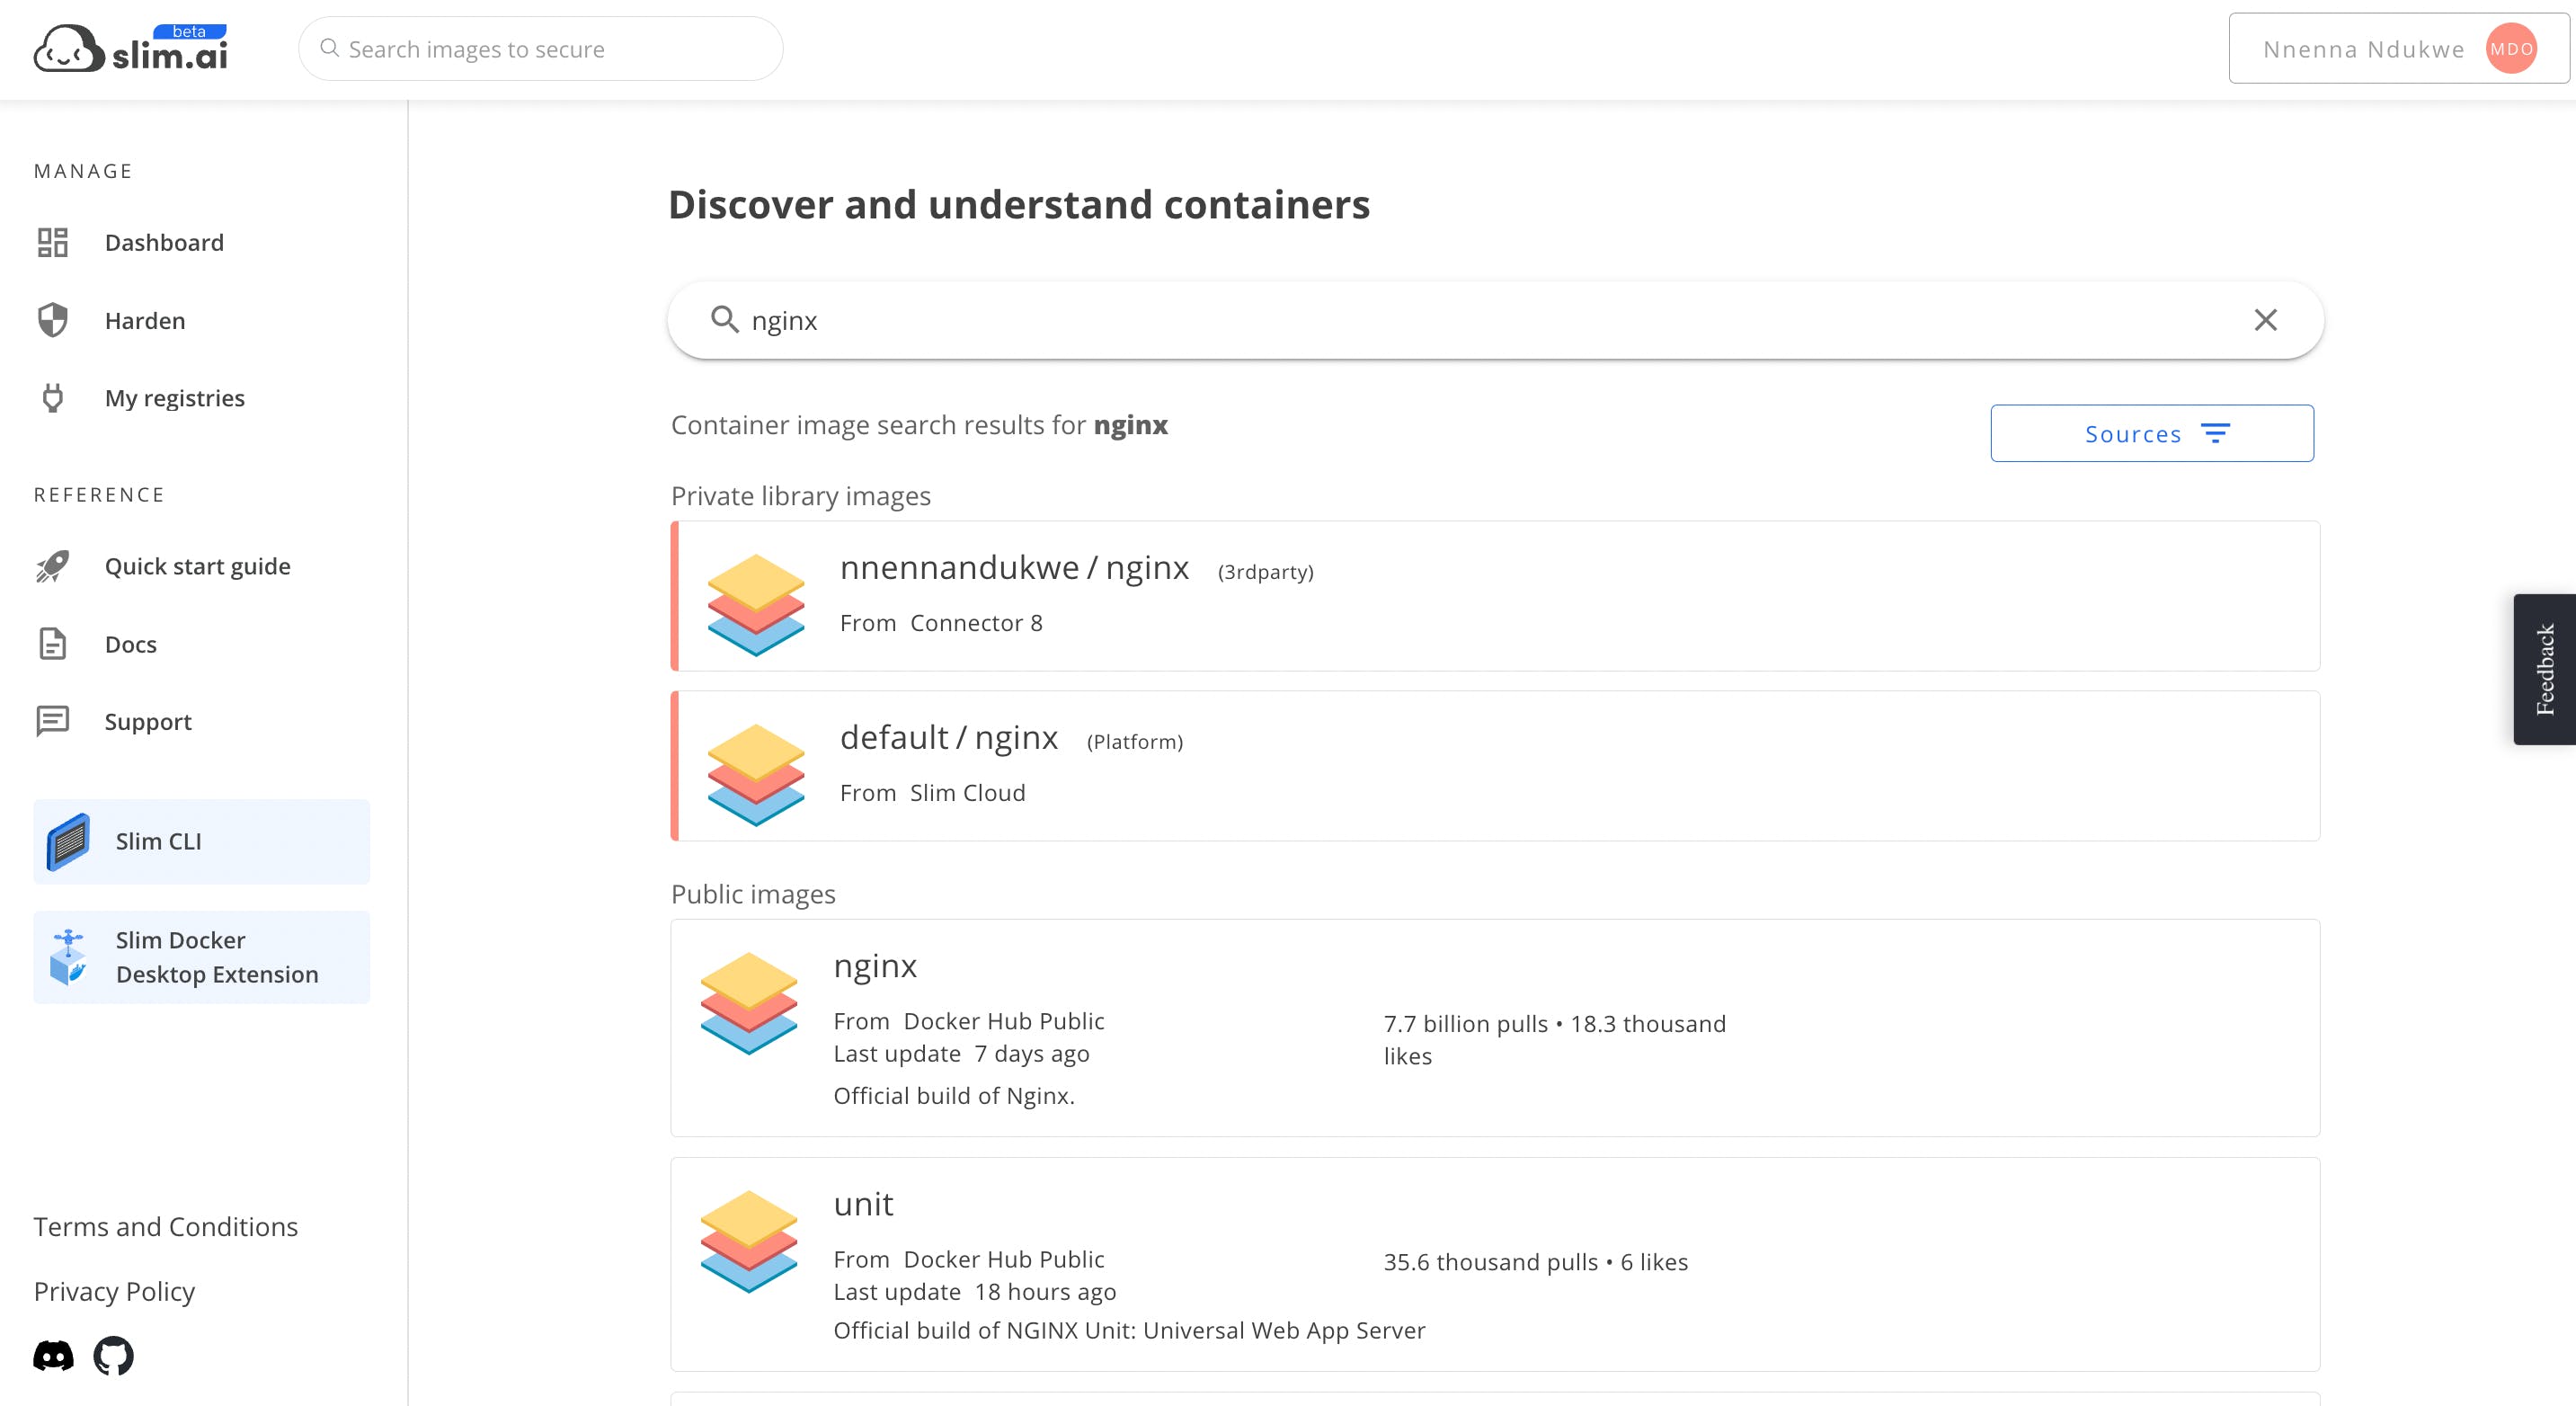
To see an example of scan results prior to connecting to a registry, search for nginx and click on the first result under Public Images.
Once scanned, you can view an Overview of metadata and insights about the image, browse and view files in the File Explorer, view an automatically generated Dockerfile, and view our vulnerability scan information.
Step 3: Install & configure Slim CLI
Follow the instructions from our Slim CLI docs or navigate to the platform CLI settings for installation and configuration on your local machine.
While you can harden images via the Slim SaaS UI, automated container hardening is best done using our CLI tool. Download it and install it via the instructions found here:
To configure the CLI, first you need to generate an Access Token.
Navigate to https://portal.slim.dev/settings and click on the "Tokens" tab.
Click "Add Token", name your token and click "Save."
Use this command to add the token you copied to the CLI:
Note: Make sure you’re using the org you want, rather than the default. To copy your desired org ID, in the Slim portal hover over your username at the top right to reveal the drop-down, and select ‘Personal information.’ Then select the Organizations tab to reveal a list of your org IDs.
Your CLI should now be configured with access to your organization and the ability to harden images.
Step 4: Harden an image
There are three stages of hardening an image: Instrument, Observe, and Harden.
Stage One: Instrument
With your registry connected to the Slim platform, pick an image you want to harden. For instance, my-registry/my-org/app:1.23.
Instrument an image by adding an extra layer with the Slim sensor:
If the image names cannot be derived successfully, you can try using the full version of the command:
To find the Connector_ID, you can use this helper command:
You can also find your desired Connector ID in the Connectors tab of the Slim portal. Scroll down to view your authenticated connectors. In the Actions column, click the pencil icon next to a connector and it will open the connector settings page. Here, you’ll find the Connector ID.
By default, the slim instrument command will push an instrumented version of the image back to the same container repository with -slim-instrumented appended to the original image name and tag.
If you want to use a different name for the instrumented or hardened images, you can find the corresponding flags in the slim instrument —help output.
Getting the Workflow ID
The slim instrument command outputs a workflow ID once completed. This is a unique ID for the workflow process and will be used in a later step when we go to harden the image.
You can save it simply by chaining the output to an environment variable (below) or by copying and pasting it from the command line once the instrumentation is complete.
Stage Two: Observe
The next step is to run the instrumented image to let our sensors do some runtime analysis.
Run a container using the instrumented image. Make sure you use the following:
- root user
- ALL capabilities
- --pull always flag (to ensure the latest instrumented image is always pulled)
The Docker run command should look like this:
Hardening on Kubernetes
It is possible to harden images directly in Kubernetes as well. The process is more complex and outside the scope of this document, but you can find a demo and description in our GitHub repository: Kubernetes example.
Exercising the container
Thoroughly "exercise" the running container. Any of the following will work:
- Click through the UI
- Send requests to the API
- Run test suites
This is a necessary step in order for the Slim Sensor to see the container in action and monitor kernel processes that for our hardening profile.
Gracefully stop (don’t kill!) the container, giving enough time to the sensor to save the report:
On Kubernetes, this would be done with:
In a Kubernetes YAML file, set the `terminationGracePeriodSeconds` in order to give the sensors in the instrumented pod enough time to finalize and submit the reports about your container back to Slim. Reference the example Kubernetes YAML file in Github here where a grace period is specified. The grace period flag is recommended for giving the Slim sensors enough time to complete the observation process while the container shuts down. If not, data could be lost and the hardening process could fail.
You can repeat the exercise step as many times as you want, running multiple instances of the instrumented container. The more reports submitted, the more complete the hardened image will be.
Stage Three: Harden
Finally, produce the hardened image using the report(s) from the previous step:
Or:
(You can find the WORKFLOW_ID in the output from the Instrument stage).
The hardened image will be stored in your registry with the -slim-hardened tag suffix.
You can pull and test the hardened image using the same tests or steps you used to exercise it in the Observe step.
Note that no elevated capabilities or the root user are required to run this image.
With that, you now have a hardened container. You can log back in to the Slim platform to assess its vulnerabilities and move it to production.