Nginx Example Workflow
Harden an NGINX Image with Slim
One of the best ways to truly understand how Slim can work for you and your teams is by stepping through a detailed example of how you can scan an image for vulnerabilities and harden it, just like you would need to do in the real world.
Shipping more lightweight, secure containers to production should always be the priority and goal. This guide will take you step-by-step through how to harden a NGINX container image using the Slim portal and the Slim CLI, all on your local machine.
This guide will be useful for you if
- You want to see how straightforward it is to optimize your containers as a step in your everyday developer workflow using a well-known public image
- You want a stronger sense of how the platform enables developers to ship production-ready code in a real-world sense
- You want to be able to analyze vulnerability remediation results of a real container image that’s taken through the hardening process
An overview of what you’ll accomplish
- analyze the latest NGINX image made publicly available
- use the Slim platform to prepare to harden the NGINX image
- setting up the NGINX image to collect sensor data that will be used for hardening
- use your local machine to test and run “instrumented” containers
- use your local machine to test and run hardened containers that are production-ready
Requirements
- Access to the Slim Platform
- An active connector (e.g. Docker Hub) set up that contains an NGINX image. If it does not contain that image, you can search for it on the platform and copy it into your connector repository.
- Installed and configured the Slim CLI on your local machine
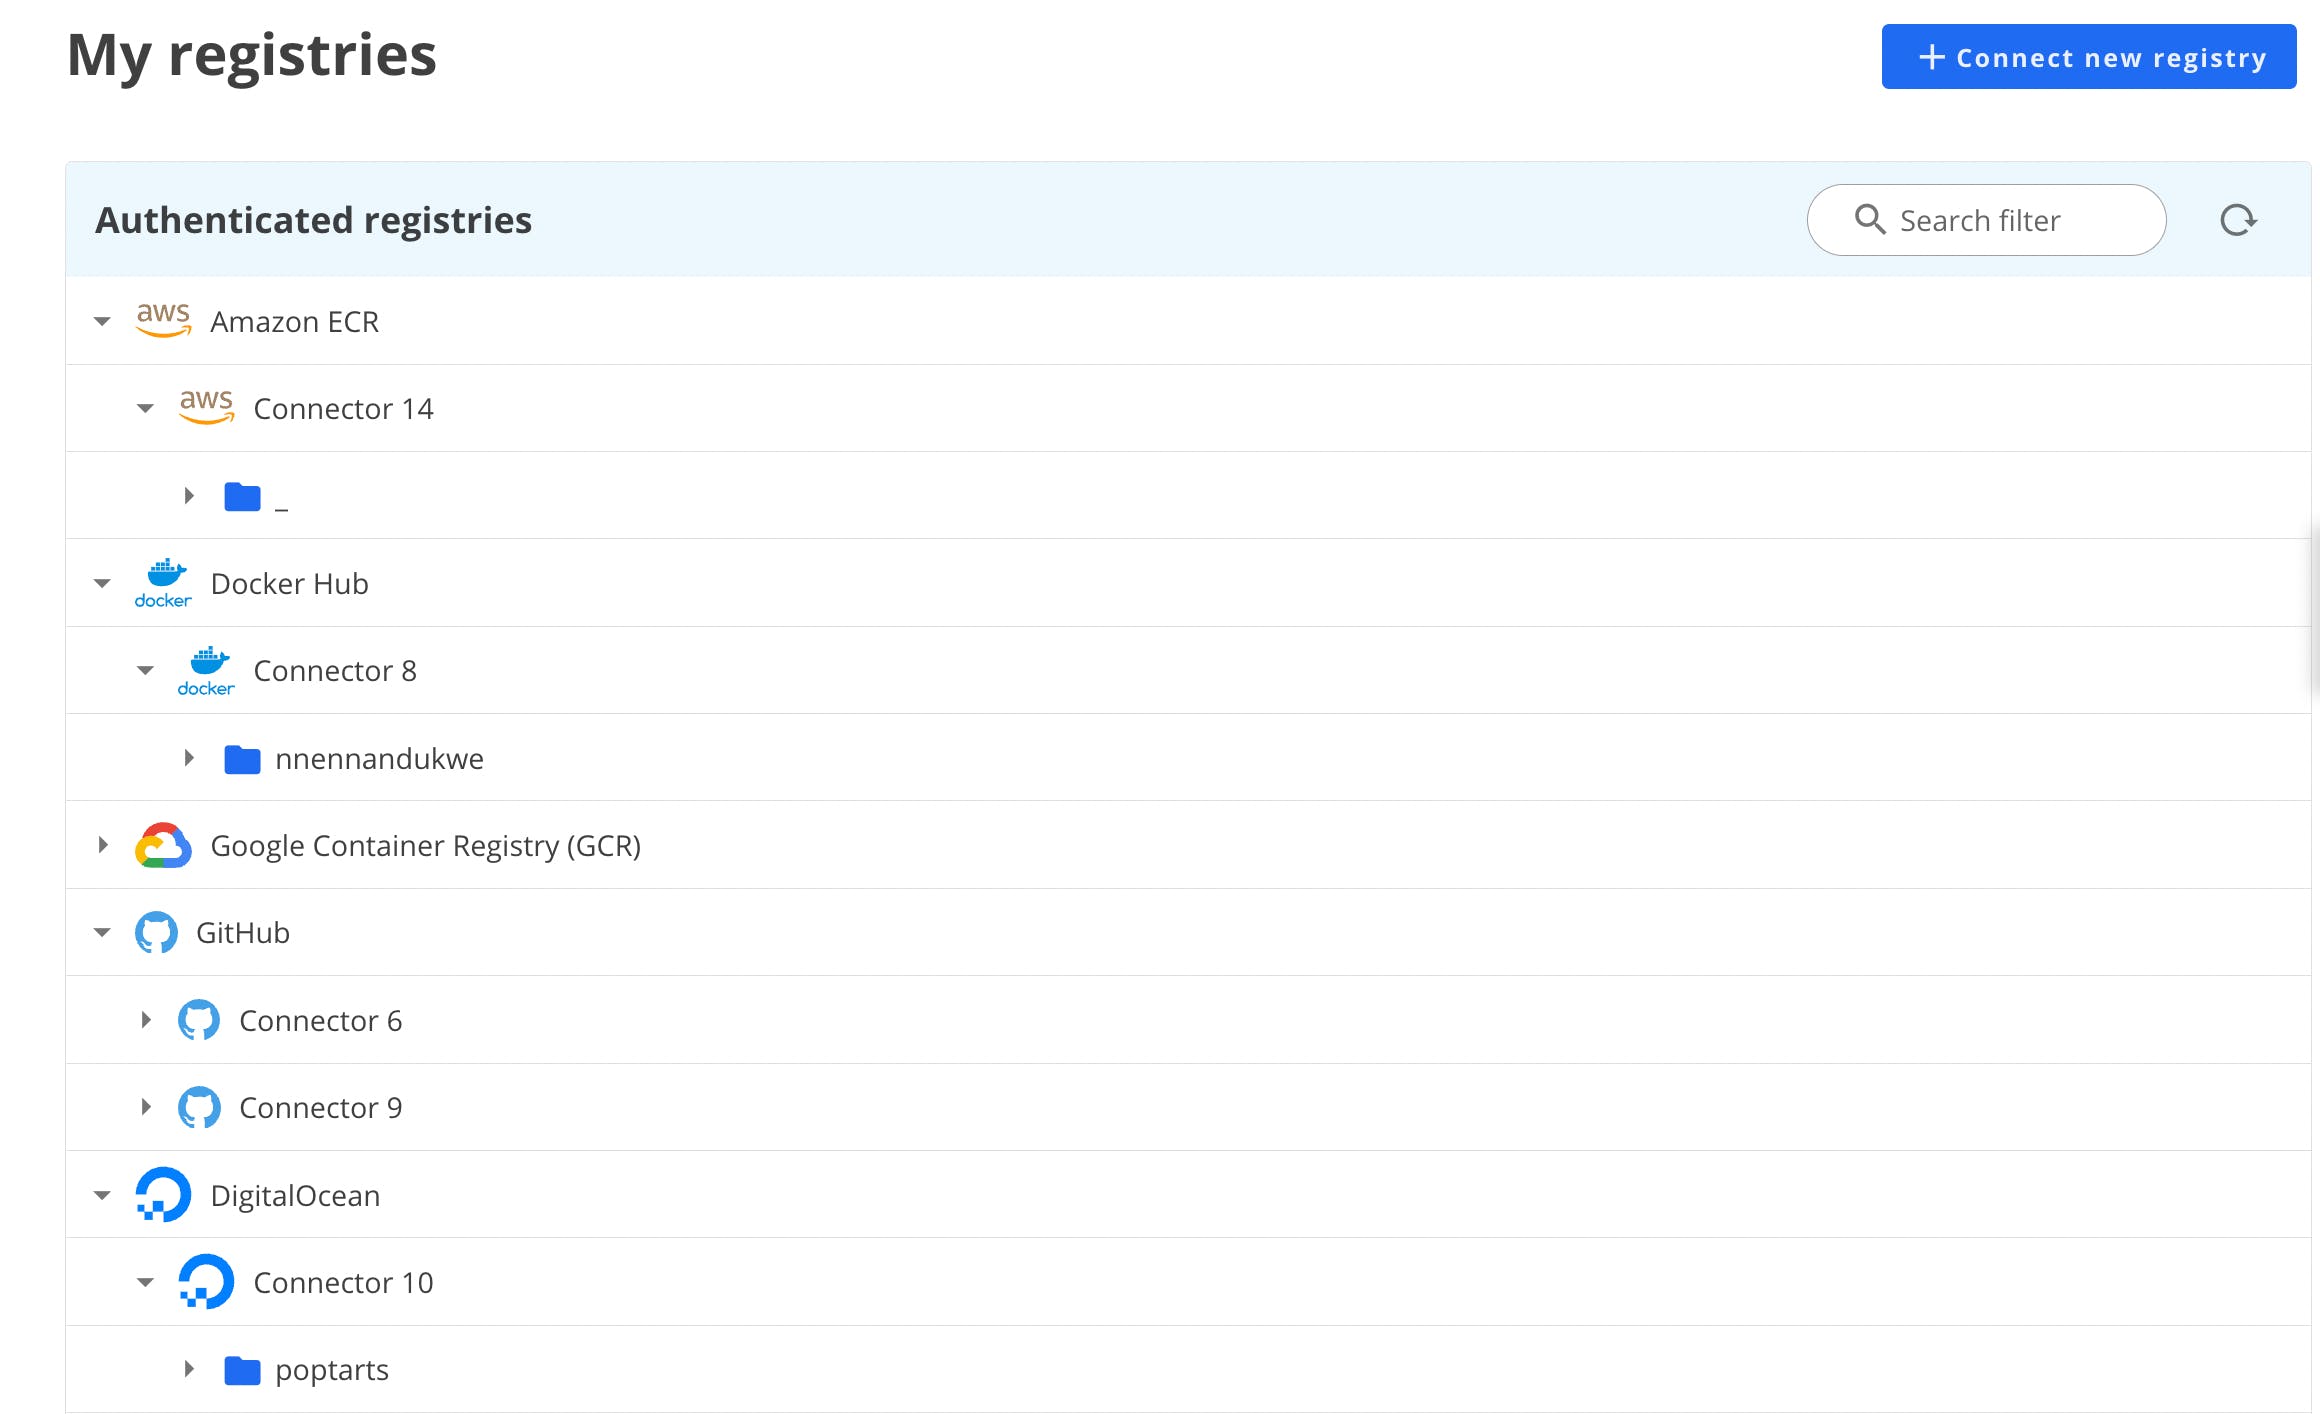
Browse your active connector for NGINX
From My Registries, find the latest version tag under the NGINX container image dropdown.
Docker Hub -> Connector name -> repo name -> nginx image
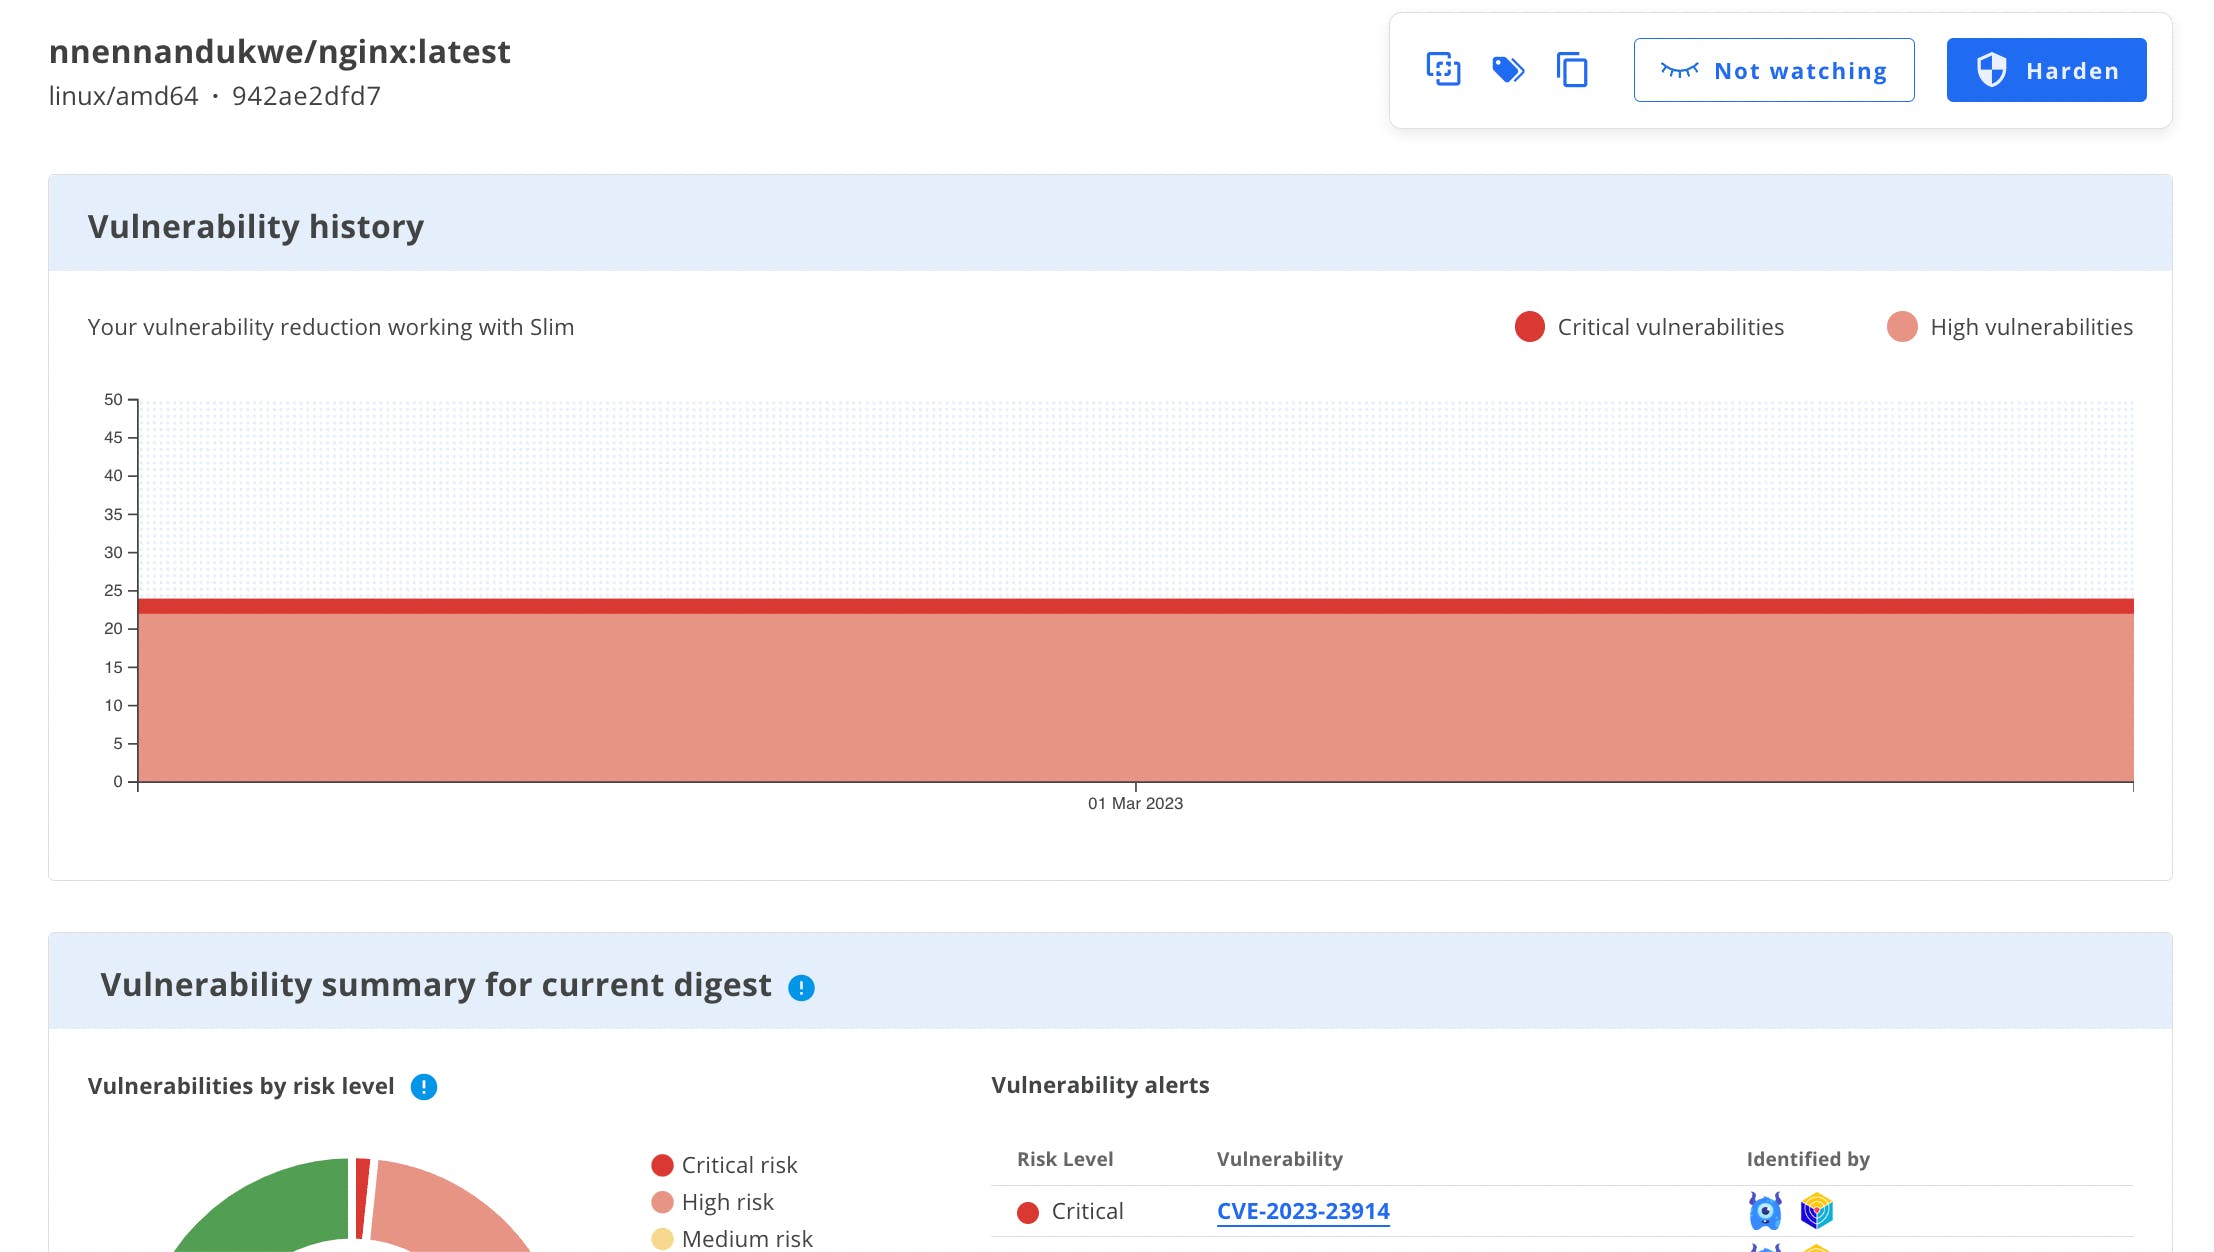
For this guide, we’ll use the latest image tag. Click on it to be taken to the profile overview.
This will kickstart a vulnerability scan from multiple scanning engines. This is all in preparation for hardening the image.
Analyze the NGINX image
Our Vulnerability Scan is a singular, aggregated report that has been automatically generated (which can be reviewed under the Vulnerabilities tab of this container’s profile), click the Harden button at the top right corner.
Configure the process for container instrumentation
Here, you begin a 4-step process to determine:
- which environment your container will run and test in (we will run it locally)
- which connector to utilize for your images to live in (e.g. DockerHub)
- confirm the entry point for sensors to collect data from the image as it runs
- optionally include other files or directories
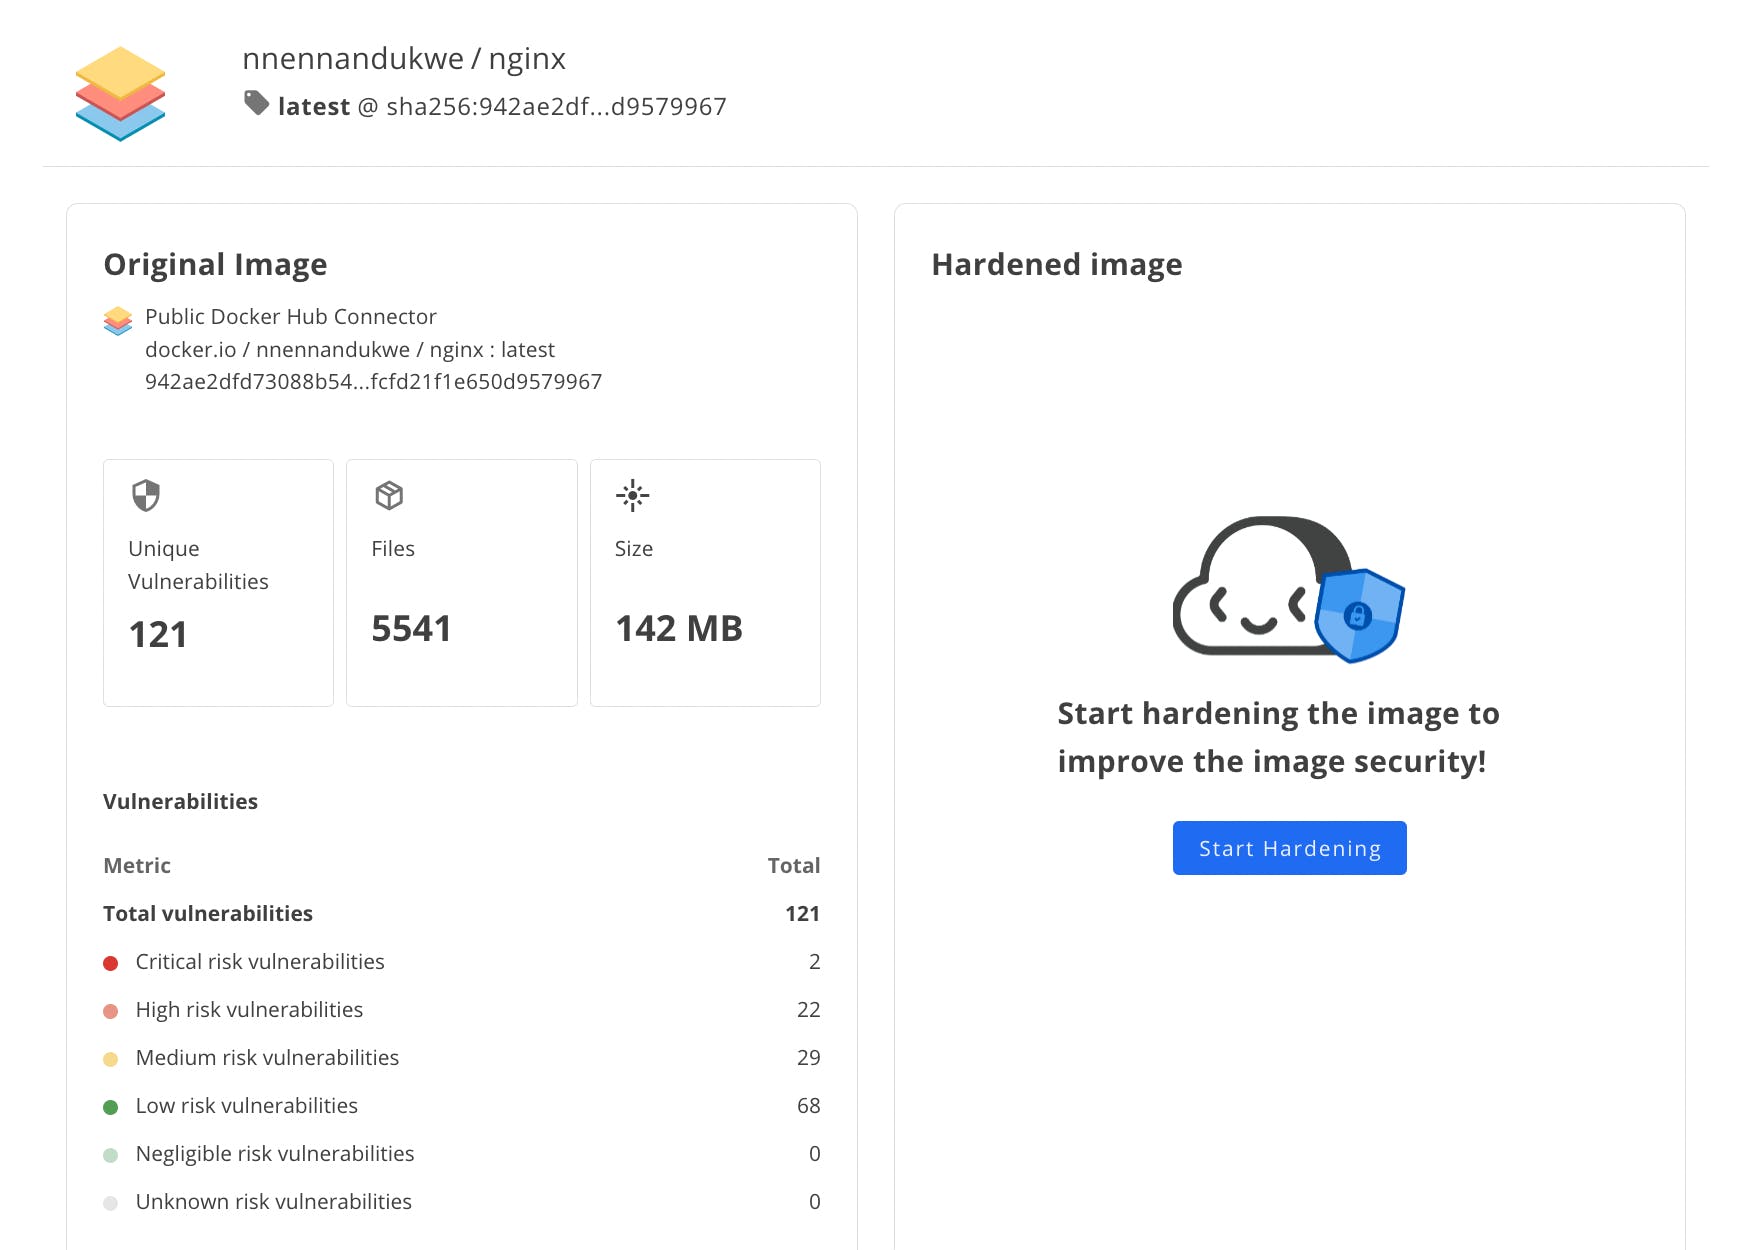
An overview of the original NGINX image will be able to be compared to the hardened image once the process is complete.
Click Start Hardening.
You can keep the default values that are populated in the fields of the next 5 steps the Slim platform will take you through, as these should suffice in order to successfully harden the image.
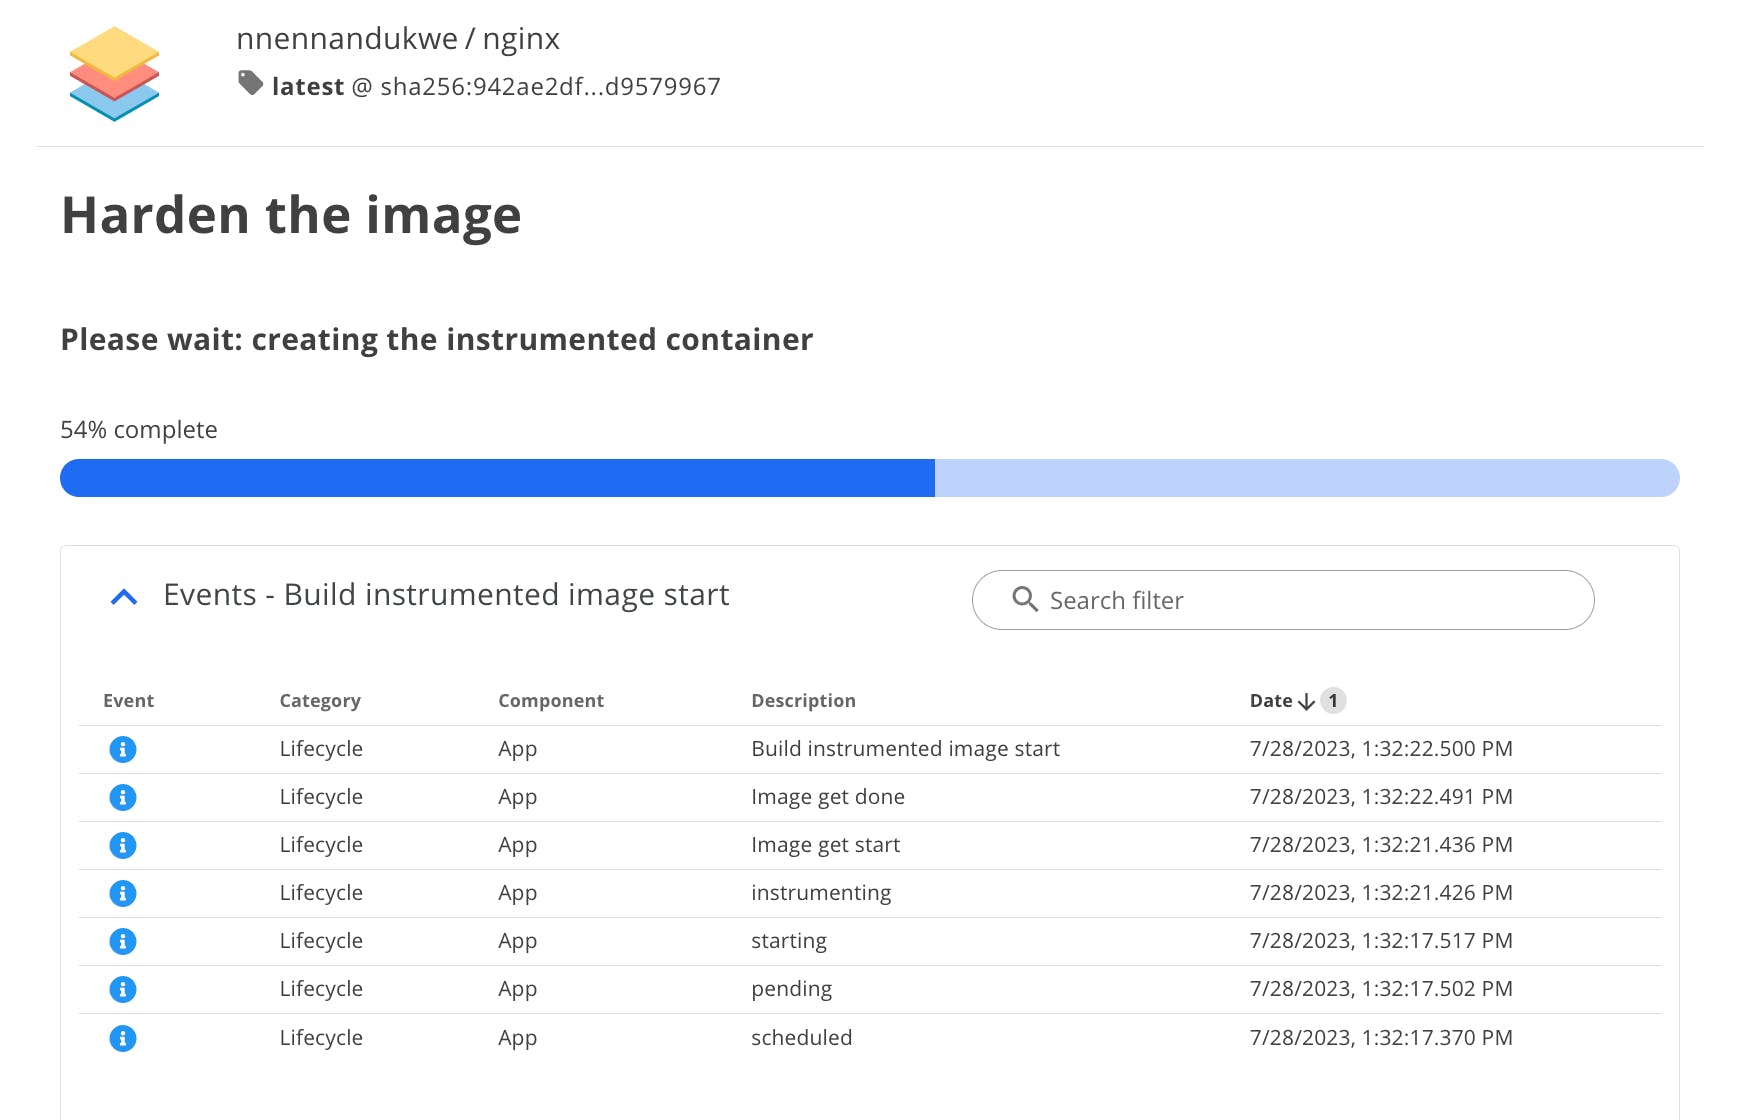
Once the 5 steps are complete, a process kicks off where Slim generates a copy of the NGINX container that includes embedded sensors. This is referred to as the instrumented container.
Use the Slim CLI to pull the instrumented copy of your image
Now you’re ready to pull the new image to run and test. Running the instrumented NGINX container image locally allows for sensors to get a full scan of all assets needed to run the container in isolation.
Navigate to your terminal and run the command:
For example,
The instrumented container should now exist in your local environment.
You can confirm this afterward by running docker images | grep nginx.
The image with the name latest-slim-instrumented should be listed in the output.
Run the container image
Now, you need to run the container image. Use this command:
Test that your NGINX server is running
It’s important to test that your container image is running successfully, as this would realistically be part of your developer workflow prior to shipping code to production. You want to make sure things aren’t broken.
Keep the container image running. In a separate terminal window, you can test that it’s working by using a curl command to get the output that would display in your web browser.
curl localhost:9999
You should get an HTML response:
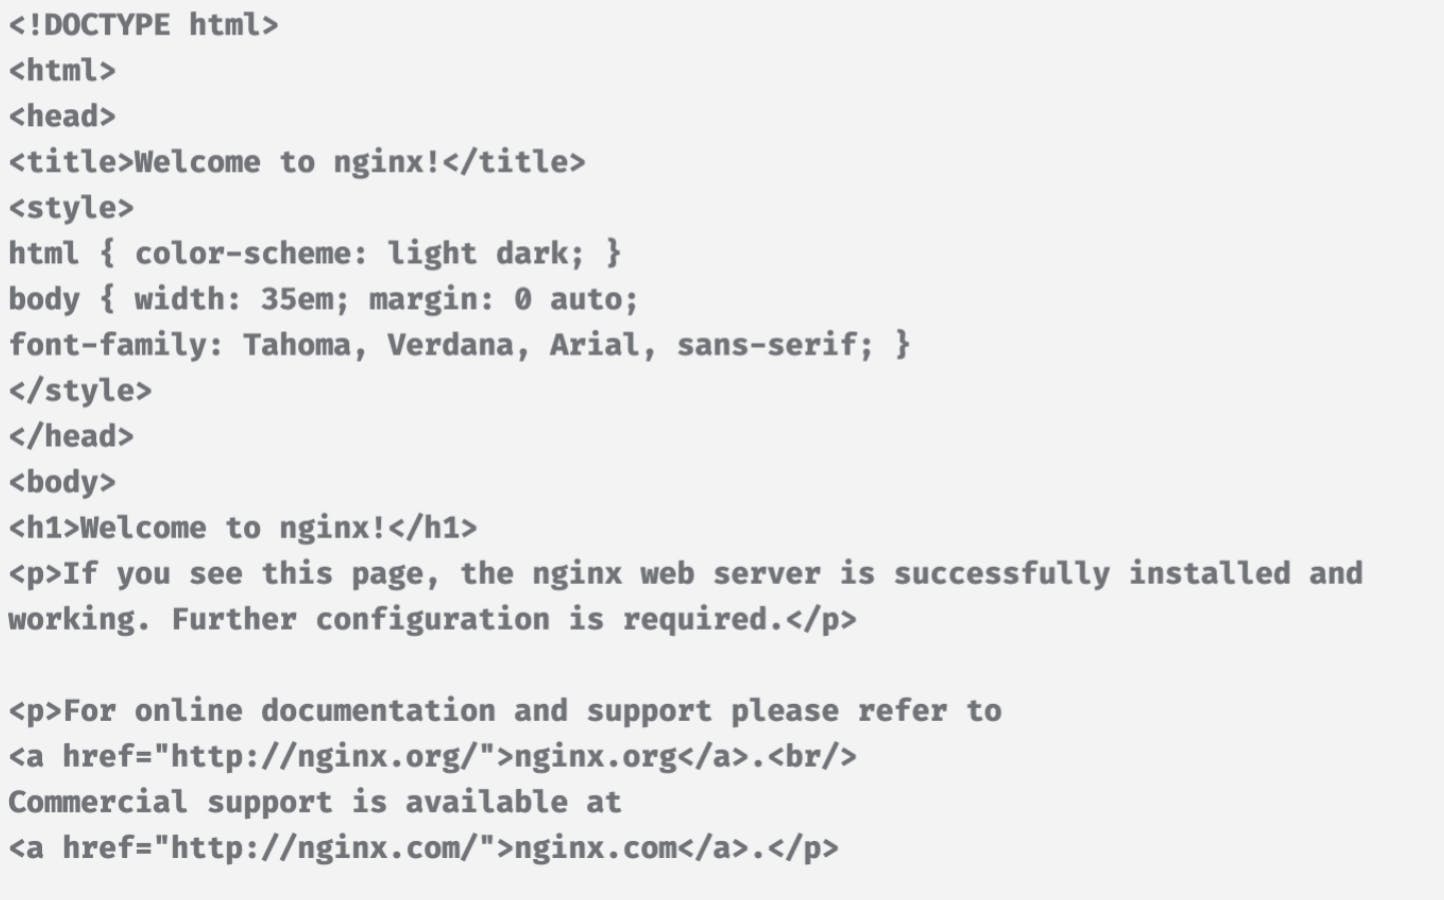
If you see output that confirms your app is running, congrats! You’ve been able to successfully pull, run and test your instrumented container in order for Slim to work its magic.
Stop the image to complete the sensor data collection process
🛑 Do not use docker kill as this will cause all sensor data to be lost.
Instead, run:
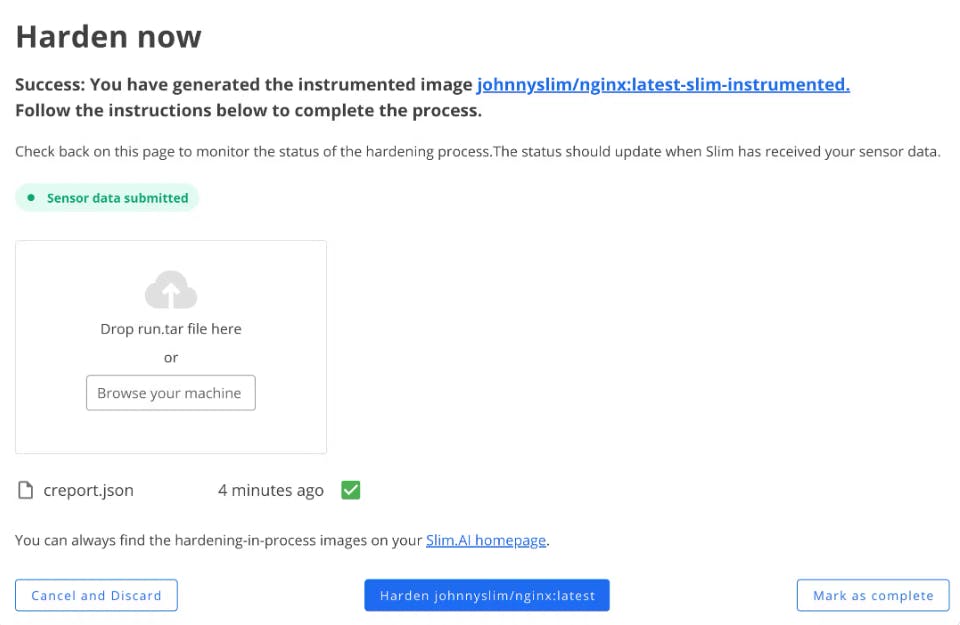
Harden the image
Slim will receive the full sensor data that’s been collected from you running and stopping your instrumented container image.
To kick off the hardening process, navigate back to the Slim platform and click the Harden button that’s centered at the bottom of the view.
Observe your results
Once the hardening process is complete, you will see the full overview comparison of your original image and the new, hardened version of your image.

You’ll notice some important insights are highlighted at the top of each image.
- unique vulnerabilities
- number of files
- image size
Additional breakdown of the file system overlay, image metadata diff, Dockerfile diff, and the vulnerabilities diff can be examined in this view.
You now have a hardened container image that is more lightweight, secure, and ready for use.
Pull your hardened image down to your local machine
Since the hardened version of your container is the one that would be best to utilize for any work you do, it’s important to pull down the hardened NGINX image you now have to run and test.
Check that the hardened image is there.
docker images | grep nginx
Your image with the latest-slim tag should be part of the output.
Run the hardened image
Once you’ve pulled the hardened container image, run it locally.
Test the hardened image
Run curl localhost:9999 for getting the NGINX HTML in response. The output should look just like what you received before when you were first testing the instrumented container image you pulled and ran.
You now have a smaller, faster, more secure version of an Nginx container image! This can be used a base image for applications you want to build that leverage Nginx or just as a container to get deeper insight into the packages and layers of your container.