Slim CLI
Slim Command Line Interface (CLI)
Not only do we have the Slim Platform for connecting registries, scanning images for vulnerabilities, and slimming containers, we have the Slim CLI to enable you to handle all of these processes right from your terminal or in any environment you choose. These are scripts meant to be seamlessly integrated into your CI/CD pipeline.
Streamlining containerization
The CLI is designed to optimize Docker and other container systems. It helps DevOps teams create more efficient, smaller, and faster containers. This could be vital in a CI/CD pipeline where rapid deployment of small, independent services is often a goal.
Automation
The CLI is designed to integrate into automated workflows, aiding in speed and consistency of deployments.
Customization and control
Our CLI tooling offers options for customizing the container creation and deployment process should you need more advanced configuration options to tailor your CI/CD pipelines to your specific needs.
Install the Slim CLI
For installation:
Update your Slim CLI version to at least v0.0.17. Alternatively, you may access the download link within your SlimAI Portal, in the top right corner after logging as seen below, or directly from https://portal.slim.dev/cli.
Generate and save a CLI config file
You can also find the installation instructions on the Slim Platform.
Your ORG_ID can be found in your Organization Settings or in the CLI installation instructions. Tokens are scoped to your account.
Upon installation, you’ll see an output in your terminal that looks like this.
If so, you’ve successfully installed the Slim CLI and you’re ready to start scanning, instrumenting, and hardening your images!
Core Commands
Our commands are carefully crafted with Linux and Docker-based syntax in mind to enable you to learn and work effectively with Slim from the command line.
This command expands on capabilities to scan images, save baseline image scanning reports, and create vulnerability diff reports.
To scan a container image for vulnerabilities in which the output is a scan-id:
You can save a vulnerability scan result as a baseline for future comparisons. Utilize the scan-id from the "vscan scan" command output in order to specify which result to save:
To determine the location in which you want to save the output of the vulnerability scanning results, utilize the --report-file command option. The default file name would be "vscan.json":
This command creates a vulnerability diff report for two vulnerability scan results.
Use a --target-scan-id flag pointing to the scan-id from "slim vscan scan <img>".
Use --baseline-scan-id command option using a scan-id in which to compare the target-scan-id against, which is by default the most recently saved scan results from the "slim vscan save" command.
Use --report-file as a command option to specify the location for the vulnerability diff report to be sent to. The default file name would be "vscan-diff.json" if no report file name is specified.
This command will target the container image you want to harden and inject our Slim Sensor into the container so it can act as an intelligence agent to collect data during the observation step in the hardening process. This is then considered an “instrumented container”.
To produce a container image instrumented with runtime analysis tools, known as Slim sensors:
To specify a number of tail layers to be preserved unmodified in the hardened container (default: 0):
To exclude some paths from the hardened image using a glob pattern:
To trust Slim TLS certificates while calling home from the instrumentation (handy when the target image doesn't have public certificates installed) (default: false):
To specify an instrumentation completion timeout value, use this command. If 0, no timeout is used (default: 15m0s):
This command will produce a new, hardened version of your container image based on the results of your instrumented container using runtime analysis reports.
To harden the instrumented image used to produce the runtime analysis reports:
To explicitly select a connector to use for image manipulations when hardening:
To explicitly specify file path to be included in the hardened container
To pull the hardened image into the local Docker daemon (default: false):
slim hardening
This command is for troubleshooting the state of your containers to determine whether or not they've gone through instrumentation and have completed the hardening process.
Instead of debugging the complex systems you utilize in your CI/CD workflow, lean on the slim hardening commands to gain deeper insight into the status of your containers.
slim hardening instrumentations
A command to return a list of instrumented containers:
There are a set amount of states for the results of listing your instrumented containers:
- instrumented: the state when you create an instrumented container image that includes the embedded Slim sensor and collector. At this point, the instrumented image is ready to be used. After this, you can run the instrumented image for testing.
- running: the state when the instrumented image is in use and its running somewhere (in Kubernetes, local Docker, or elsewhere). When the instrumented image starts, the sensor invokes a call to the SaaS API to signal that we started running the instrumented container.
- completed: the state when an instrumented container is finished running and the container report has been submitted to the SaaS. Once the embedded sensor in the instrumented container uploads the data, it sets the run state to "completed".
Each time you run an instrumented container, you end up creating a run object associated with that instrumented container and when you choose to generate a hardened image, the data from all completed runs for the corresponding instrumented image is used when the hardened image is created. - cancelled
- failed
A command to troubleshoot and understand whether or not there was ever a completed instrumentation and hardening run:
This command is important when you're trying to figure out what our platform did during instrumentation if you get an unexpected error. You can determine whether or not Slim received your command and stored the expected output.
Utilize an instrumentation ID that comes from the "slim hardening instrumentations" command output for your debugging.
A command to download the artifacts of an instrumented run:
You will need the instrumented ID from the "slim hardening instrumentations" output of the instrumented container you want artifacts from.
You will need the instrumented run ID from the "slim hardening runs" output of the same instrumented container you want artifacts from.
slim connectors
This command gives access to connector management commands listed below.
To list the available connector types:
To return a list of all the connectors you currently have set up:
To retrieve details for a specific connector:
Retrieve details for a specific connector and display more data using the --verbose command option. The default value is false.
To show a list of commands or help for one of the commands:
This command generates an SBOM for an image, provided the original and hardened images.
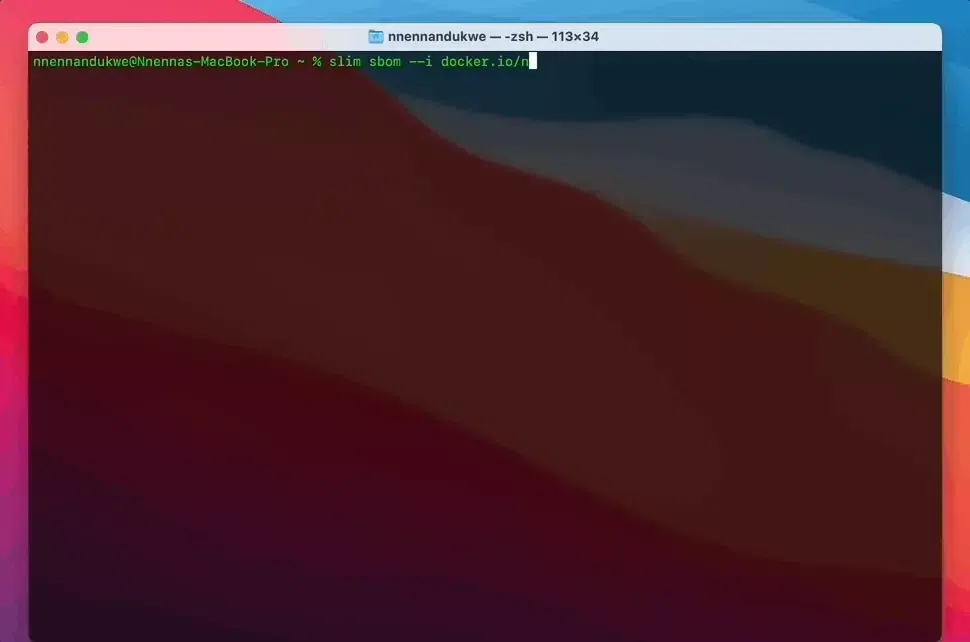
To generate an SBOM for a specific image:
or
To generate an SBOM and save the results to a specific file name:
To generate an SBOM and detect packages when the package manager files have been removed between two images:
Slim CLI Practical Use Cases
Here are some practical examples of how you can leverage our CLI in real time to optimize your containers.
Instrumenting a container image that’s connected to a registry
After scanning your image, the next natural step is for Slim to generate an instrumented version of your container, which will include sensors that will observe the contents of your packages, files, binaries, etc. that are being utilized through runtime and testing processes.
Target the image of your choice, like in this example, to generate that instrumented container.
slim instrument --help returns a list of available command options for instrumenting a container.
--include-path - explicitly include one or more file paths in the hardened image
--stop-grace-period - override the instrumented container's stop graceful timeout (default: 5s)
Hardening an instrumented container image
After generating an instrumented version of a container image, you can harden the container by target the instrumentation attempt ID you will have received from the output.
This command is what allows you to harden a container image as one of the steps to deploy more secure, more lightweight code to production.
A full rundown of the automated hardening process can be found in our our docs here.
We’re always updating our CLI and documentation. Continue to check back for latest information on newly released features and how to start using them!
Feel free to join our Discord and we are always welcome to any questions and/or feedback!
Selectively harden your container by layer
You might have layers that you want to omit from the hardening process so that they are not modified in any way. This is important for preserving the contents of parts of your container and application while allowing the remaining layers to flow through our image size reduction and vulnerability remediation process. For instance, a common pattern is to preserve the final layer of your container, which typically houses the application code, and only remove elements of the operating system in lower layers.
If you’d like to ignore certain layers in the hardening process, then run the command:
For example, if you know your image has 10 layers, running this command would omit layers 5-10 and would proceed with hardening layers 0-4: